


April 20, 2013
Easy Homemade Butter - No Churn Needed!
I cannot wait to do this for the holidays next year. Homemade Butter. It's much easier than you think.
It's one of those things, that you can say afterwards, I just made butter! or in my case... "Look at me, I'm Martha Freakin Stewart!" (Yes, I really did say that too!)
So many have been asking me, why I would want to make my own butter. Well with me, it's more of a feat. I love knowing that there isn't anything that I cannot make.
Not that making butter is any cheaper than store bought butter, but with homemade butter, you know exactly what goes into your product. Yes, I have jumped onto the GMO bandwagon. I am making an active effort to avoid GMO's and everything they stand for. (I won't go into details right now.)
So Homemade butter. It's pretty easy. All you need is a good heavy cream. If you can get this from a local farm, even better. The second thing you'll need is an electric mixer. Lastly, a strainer, or cheese cloth. Oh, and salt if you like your butter salted. I do not, so I omitted the salt step.

2 pints of heavy cream will yield you just over a pound of butter when your finished. I read a lot of different things before I started this, and found many sites to be wrong. The whipping process actually takes about 20 - 30 minutes from start to finish. I took the time to clean my counters while this was mixing.
It's really helpful if you have a splash guard on your mixer. After doing this, I am certain, my next purchase will be a plash guard for my Kitchen Aid Mixer!
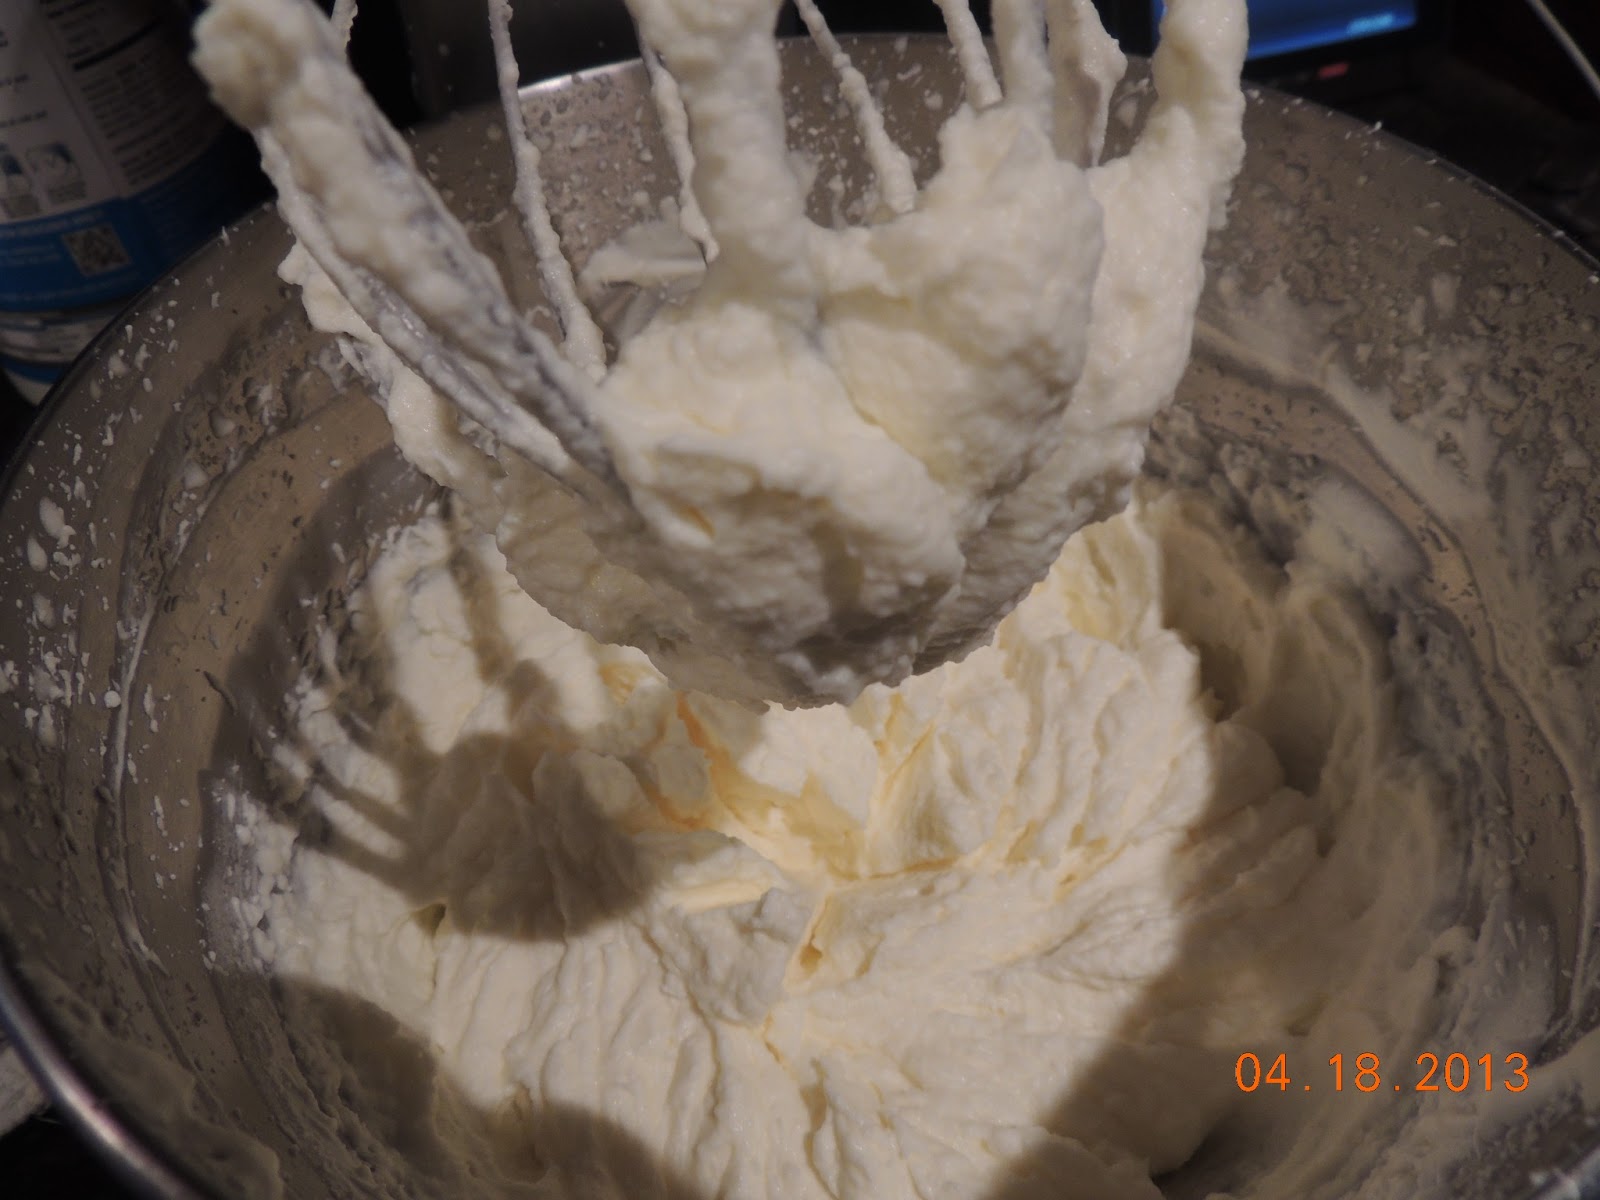
Begin by pouring all of your cream into the mixer, and turn on mixer to a high speed. Within minutes, you should start to get those stiff peaks that we look for when baking.

You're right on track for making butter! Once you have those stiff peaks, keep going. You're waiting for those stiff peaks to begin to get that grainy look. What you're doing really is whipping the butter milk out of the butter fat.
You'll also notice that this beging to change color and starts to yellow. It's at this time, you'll want to add your salt, if you're looking to make a salted butter. I typically would add just a 1/4 teaspoon of salt, and beat for an additional minute.

pour your butter into your strainer. Because I don't yet have a fine strainer, I layered a pasta strainer with a little cheese cloth.
You'll need to lightly squeeze out the remaining butter milk from your butter, which was very easy to do using the cheese cloth.
Place into a container, cover, and you'll be able to store it for a few weeks in the fridge!

Serve on anything you normally butter!

Now, I'm waiting for my cheese making supplies to come in! Can't wait to accomplish my next cooking feat!
Subscribe to:
Post Comments (Atom)


0 comments:
Post a Comment